Printable template
Water-Cycle Diagram (Blank)
Unlabelled water cycle to annotate.
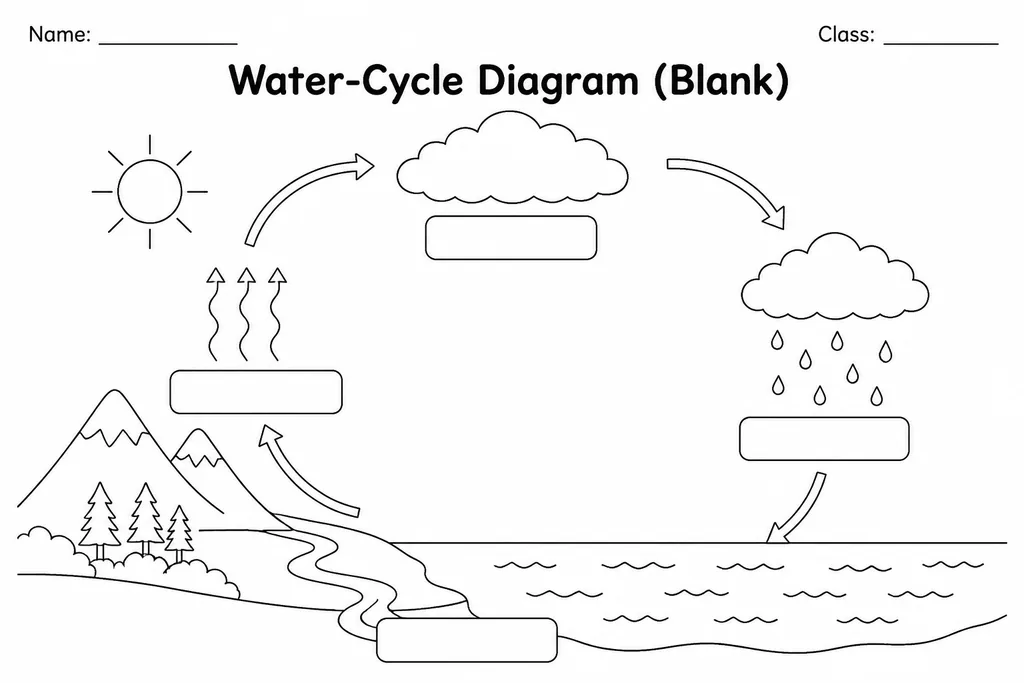
The Water-Cycle Diagram (Blank) is an unlabelled landscape illustration of the full hydrological cycle—cloud formations, precipitation, a mountain with runoff, an ocean or lake, underground water flow, and sun rays—with empty label lines and blank arrow paths waiting to be completed by students. Every stage of the cycle is depicted visually but named by nobody, putting the recall work squarely on the learner. Grades 2–6 use this template across Earth science and environmental units to consolidate understanding of evaporation, condensation, precipitation, collection, and transpiration. Teachers project the blank diagram before a lesson to probe prior knowledge, then distribute printed copies for students to annotate during or after instruction. Because the landscape illustration stays constant, teachers can assign the same template at the start and end of a unit to make learning progress tangible and visible.
Learning objectives
- Name and locate each stage of the water cycle on a diagram
- Explain the direction of water movement using labelled arrows
- Connect solar energy to the processes of evaporation and transpiration
- Distinguish between surface runoff, groundwater, and precipitation
- Build scientific diagram-annotation skills using correct terminology
How to use this template
- Print the template in colour or greyscale on A4 or US Letter paper—colour printing helps students distinguish cloud, ocean, and mountain zones more easily.
- Distribute before the lesson to assess prior knowledge: ask students to label whatever they already know before any teaching takes place.
- During the lesson, pause at each stage and ask students to write the correct term on the nearest label line, adding a short definition in their own words.
- Draw or trace the arrows showing water movement direction, labelling each arrow with the process it represents (e.g. 'evaporation → water vapour rises').
- Store the completed diagram in a science journal or laminate blank copies for dry-erase reuse in revision sessions.
Classroom & home ideas
- Pre-and-post knowledge check: collect completed blank diagrams before teaching the unit, then redistribute the same sheets at the end and ask students to add or correct labels in a different colour, making growth visible.
- Partner teach: students complete their diagram individually, then swap with a partner to check each other's labels against a class reference before correcting in pencil.
- Role-play narration: each student picks one stage of the cycle and writes a first-person monologue ('I am a water droplet about to evaporate…') using their annotated diagram as a script outline.
- Water-cycle in a bag experiment: after completing the template, students tape a sealed zip-lock bag of water to a sunny window and observe condensation forming, connecting the experiment directly to the evaporation and condensation labels on their diagram.
- Cross-curricular writing: use the completed diagram as a planning scaffold for a descriptive paragraph or short report explaining the water cycle journey from ocean to cloud to rain.
Skills practised
Frequently asked questions
What stages of the water cycle are depicted in the diagram?
The illustration shows evaporation, condensation (cloud formation), precipitation, surface runoff, groundwater/infiltration, and collection—the core stages covered in Grades 2–6 curricula.
Is transpiration included for older grades?
Yes. A small plant or forest is shown in the landscape, and there is an empty label line near it so Grades 5–6 students can add 'transpiration' as an additional source of atmospheric water vapour.
Can I use this diagram without prior teaching to see what students already know?
That is actually its most effective use. Handing out the blank diagram before the lesson surfaces misconceptions early and gives students a personal reason to pay attention during instruction.
Does the blank diagram include arrows or do students add those too?
The printed version shows faint arrow guides to indicate direction of flow, but students trace or darken them and add labels—this makes the direction of each process an active learning step rather than given information.
Likes & comments
See what other teachers think and share a helpful note.
Create more worksheets in our Worksheet Studio
Generate fresh worksheets for any grade, topic, and language — free.
Open the Worksheet StudioRelated worksheets
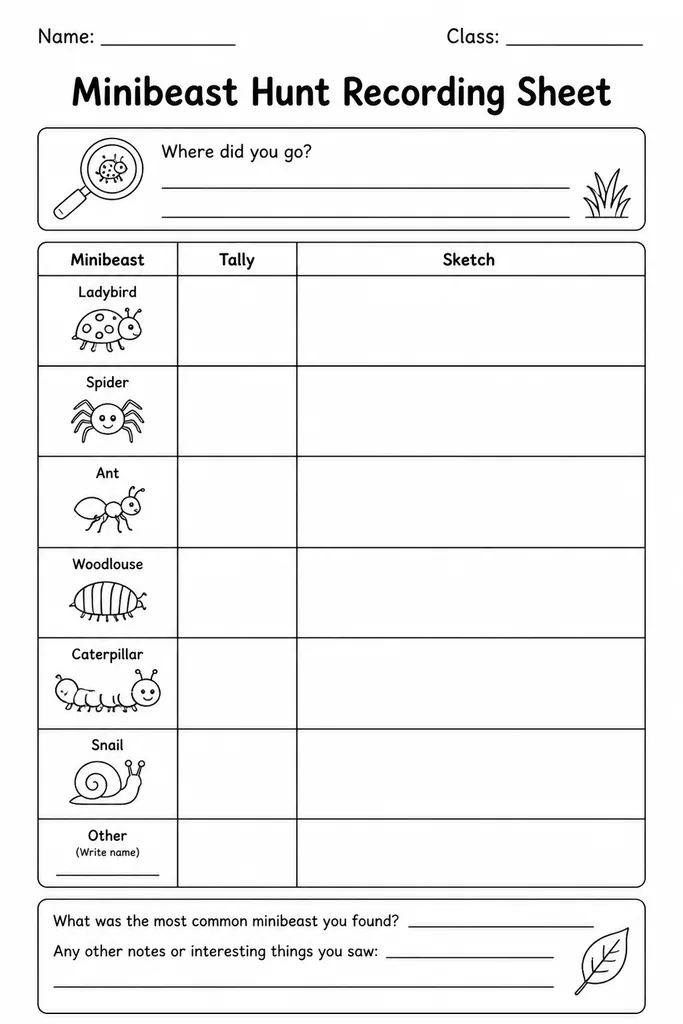
Minibeast Hunt Recording Sheet
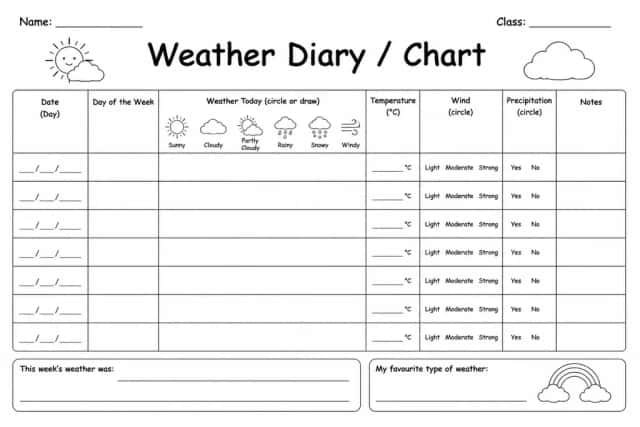
Weather Diary / Chart
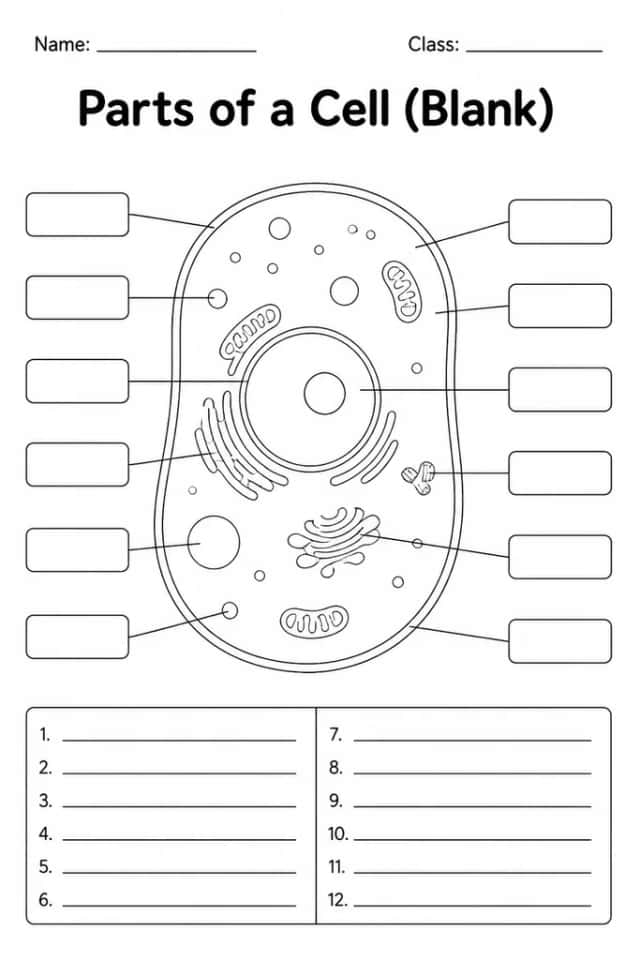
Parts of a Cell (Blank)
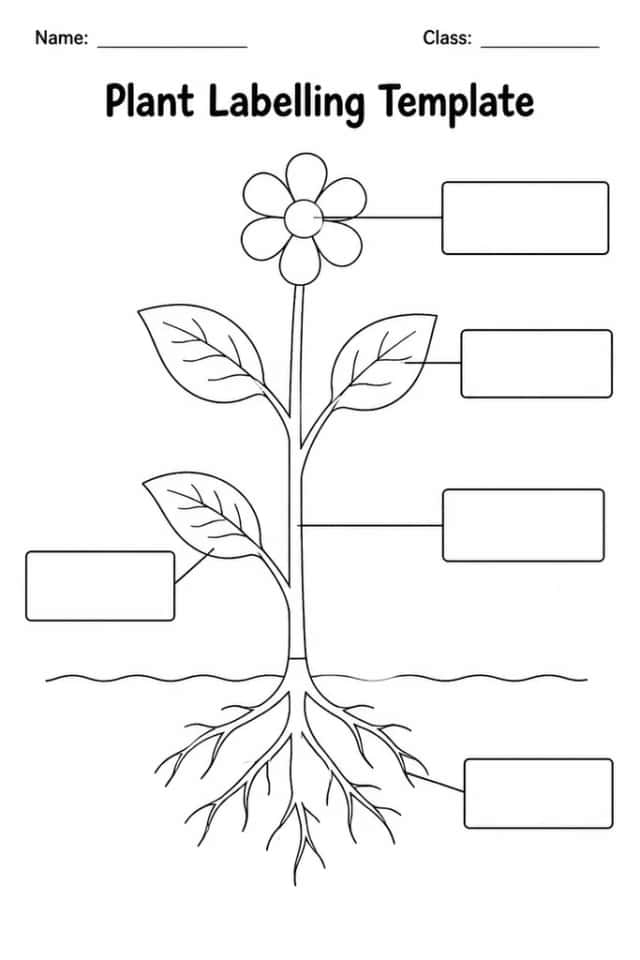
Plant Labelling Template
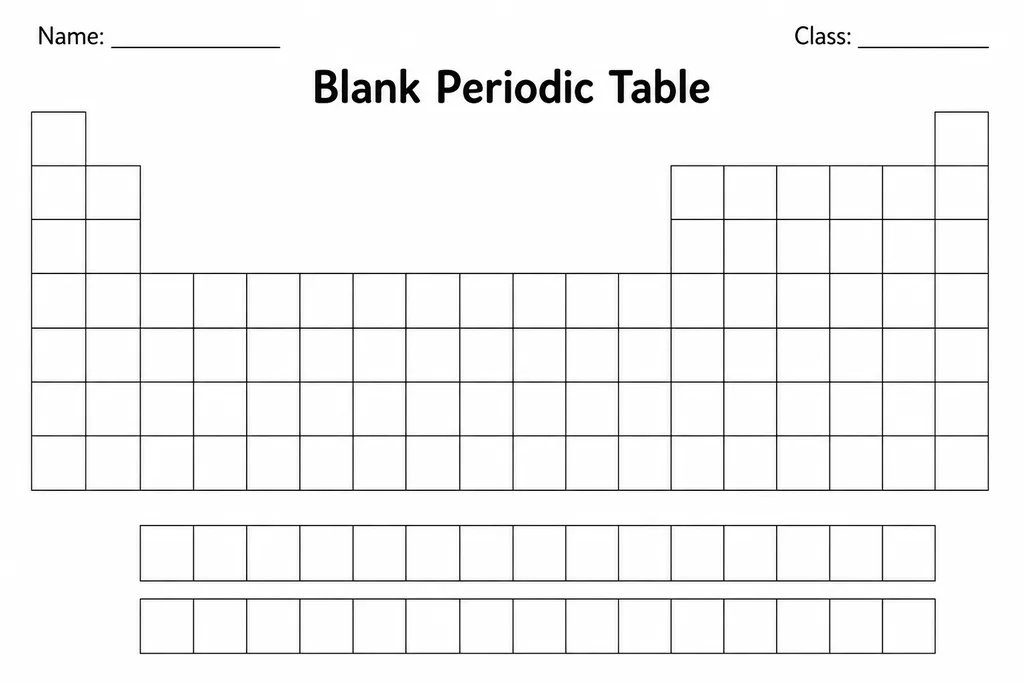
Blank Periodic Table
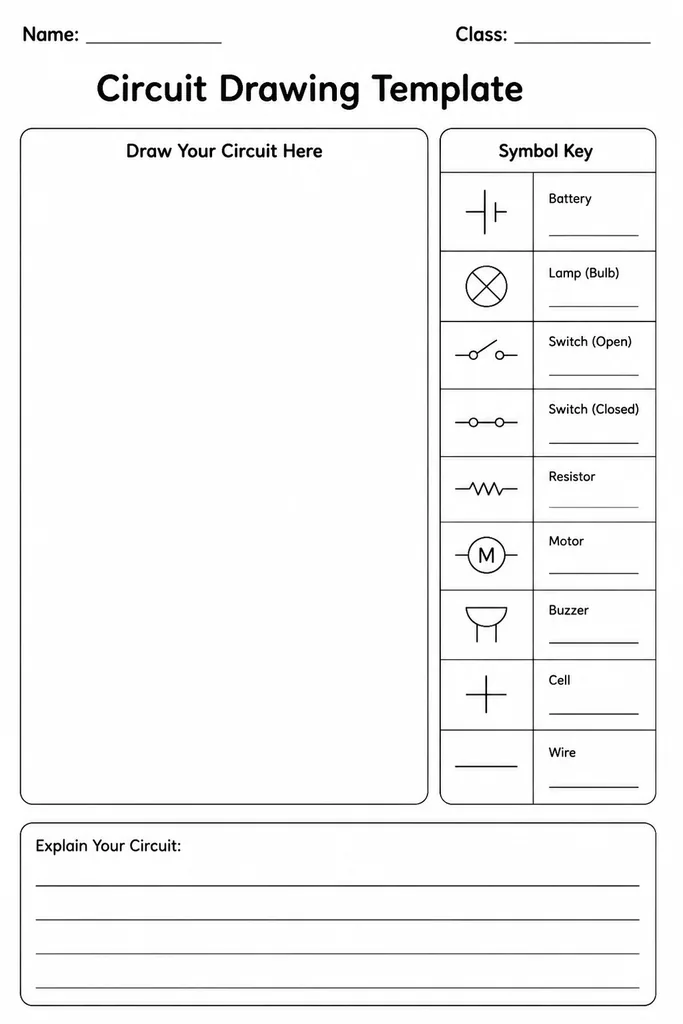
Circuit Drawing Template
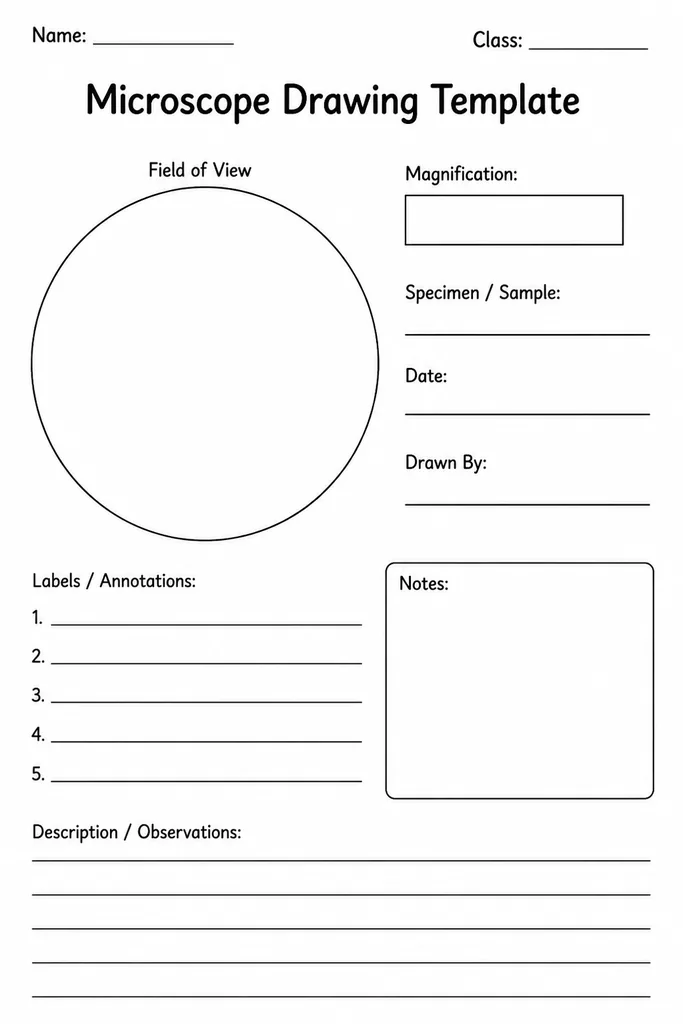
Microscope Drawing Template