Printable template
Experiment Recording Sheet
What we did and what happened, blank.
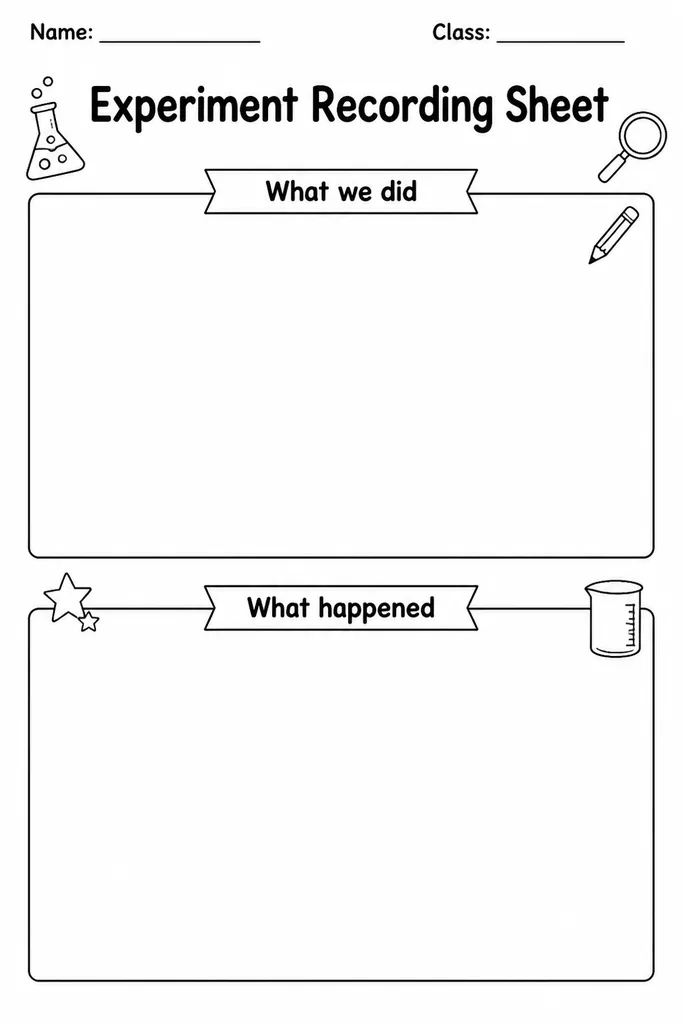
The Experiment Recording Sheet is a simple, open-ended blank form for grades 1–6 that captures the heart of any science activity: what we did and what happened. Two generous sections — procedure and results — give students space to write, draw, or tally without the overhead of a full scientific-method layout. It is perfect for early elementary learners who are just beginning to document investigations, and equally useful for quick demonstrations where teachers want a focused written response rather than a full lab report. Parents running a backyard experiment or a baking challenge at home can hand this sheet to a child and get a genuine record of the activity. Because it is deliberately open-ended, it adapts to any science topic from magnets to melting ice to plant growth.
Learning objectives
- Practise documenting experimental procedures in student's own words
- Build the habit of recording observations immediately rather than from memory
- Develop descriptive writing skills in a science context
- Bridge early literacy and science inquiry for K–2 learners
- Provide a simple evidence trail for teacher assessment or portfolio use
- Encourage accurate, honest reporting of unexpected or surprising results
How to use this template
- Download and print the free PDF — one sheet per student or one per pair for cooperative experiments.
- Before the activity, students write or dictate the experiment name and the date at the top.
- During the experiment, students describe or sketch what they did in the 'What we did' section.
- After the experiment, students record what they observed or measured in the 'What happened' section.
- Optionally, prompt students to add one sentence at the bottom about what surprised them or what they wonder next.
Classroom & home ideas
- Use during a STEM rotation station so each group records their own findings independently before a whole-class debrief.
- Combine with a class 'wonder jar': students record findings on the sheet and add a new question slip to the jar for a future experiment.
- Attach to a zip-lock bag containing the materials needed for a take-home experiment kit — the sheet becomes the instruction card and response form in one.
- Use it as a quick formative assessment after a teacher-led demonstration to check whether students understood the key outcome.
- Let students illustrate the 'What happened' section with annotated drawings when they are not yet confident writers.
Skills practised
Frequently asked questions
How is this different from the Scientific Method Template?
The Experiment Recording Sheet has only two sections — procedure and results — making it faster to complete and accessible from grade 1. The Scientific Method Template adds hypothesis, materials, and conclusion boxes for a more formal structure suited to grades 2 and up.
Can this sheet be used for cooking or baking activities?
Absolutely. Any activity where students follow steps and observe an outcome fits perfectly — baking, simple chemistry at home, or a gardening task all work well with this template.
Is there a space for drawing?
The results section is unlined and spacious so students can sketch what they observed, write in sentences, or use a mix of both. There are no pre-drawn boxes, giving full flexibility.
How many copies should I print per class?
Print one per student for individual accountability, or one per pair if you want students to collaborate on a shared written record. Both approaches work well depending on your goal.
Likes & comments
See what other teachers think and share a helpful note.
Create more worksheets in our Worksheet Studio
Generate fresh worksheets for any grade, topic, and language — free.
Open the Worksheet StudioRelated worksheets
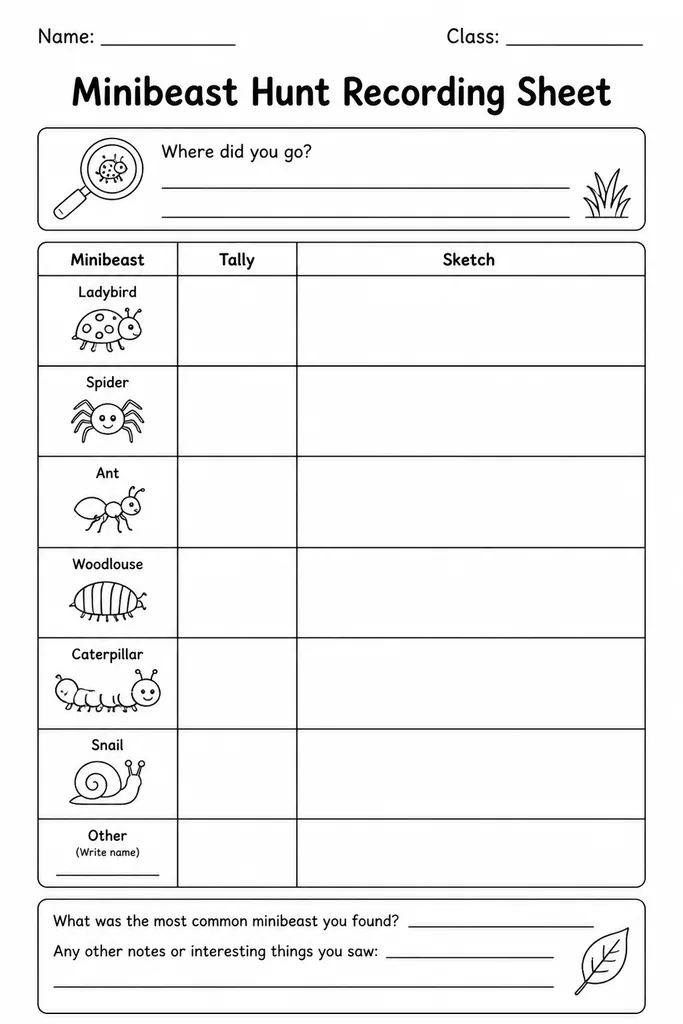
Minibeast Hunt Recording Sheet
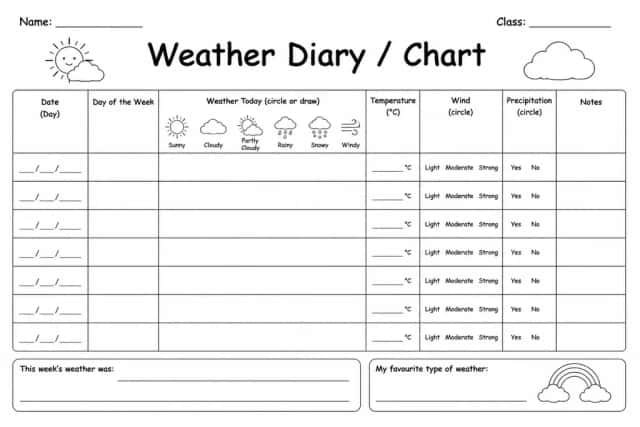
Weather Diary / Chart
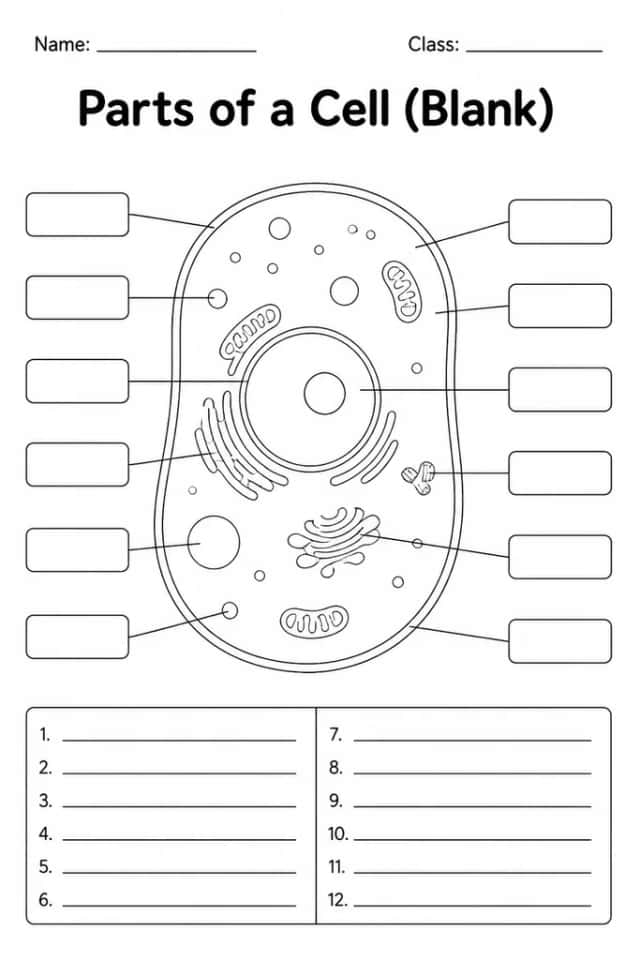
Parts of a Cell (Blank)
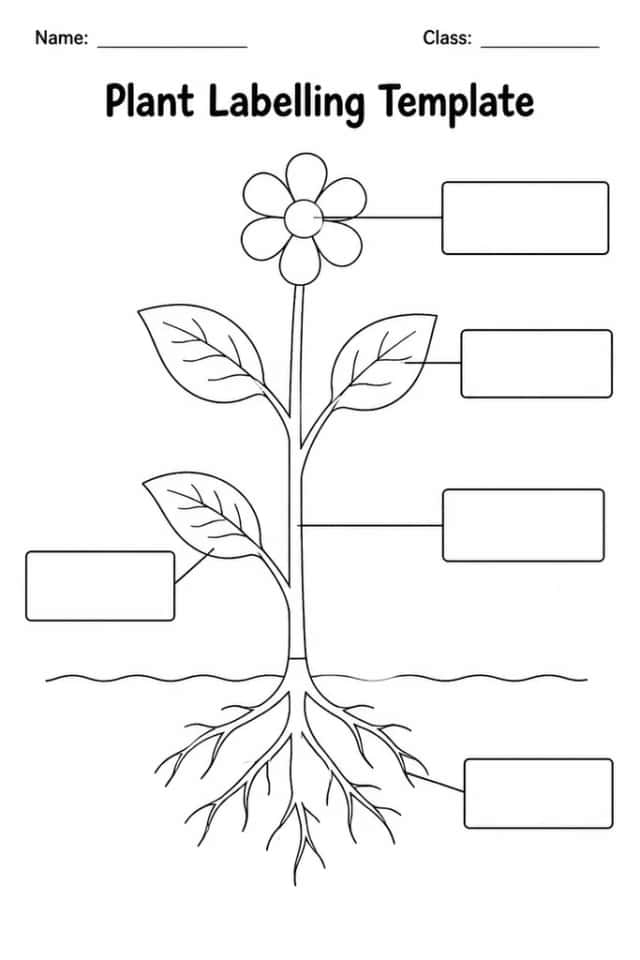
Plant Labelling Template
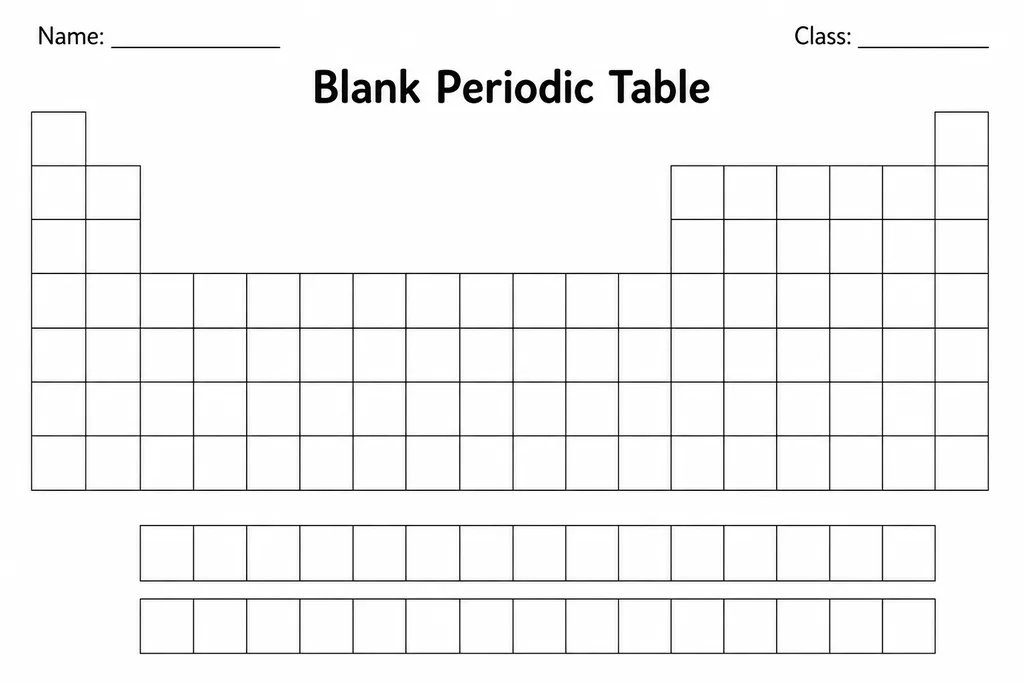
Blank Periodic Table
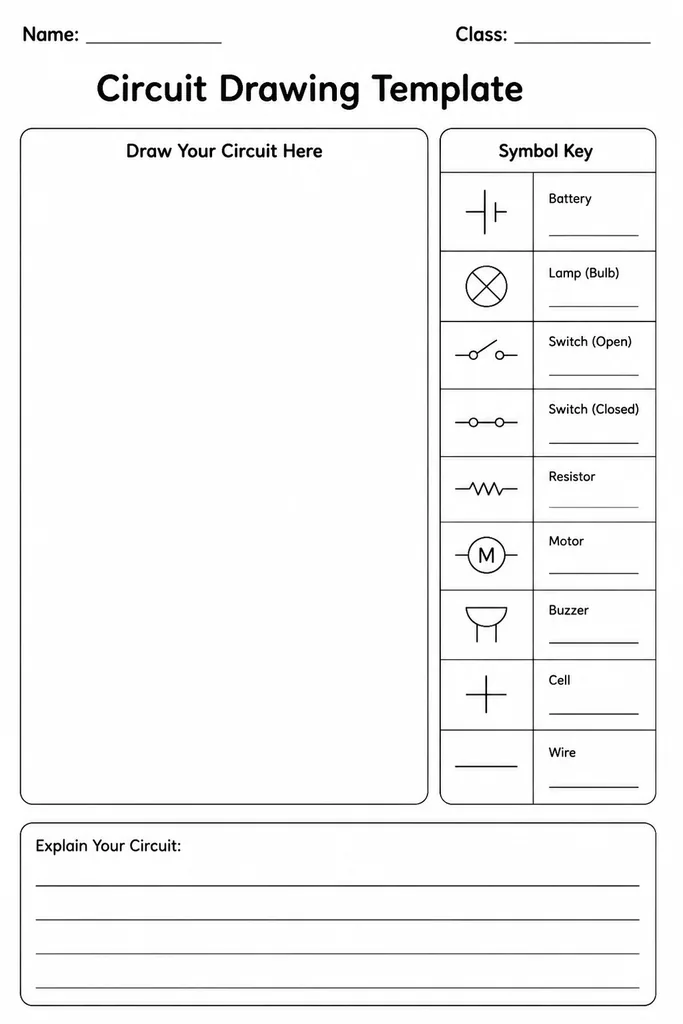
Circuit Drawing Template
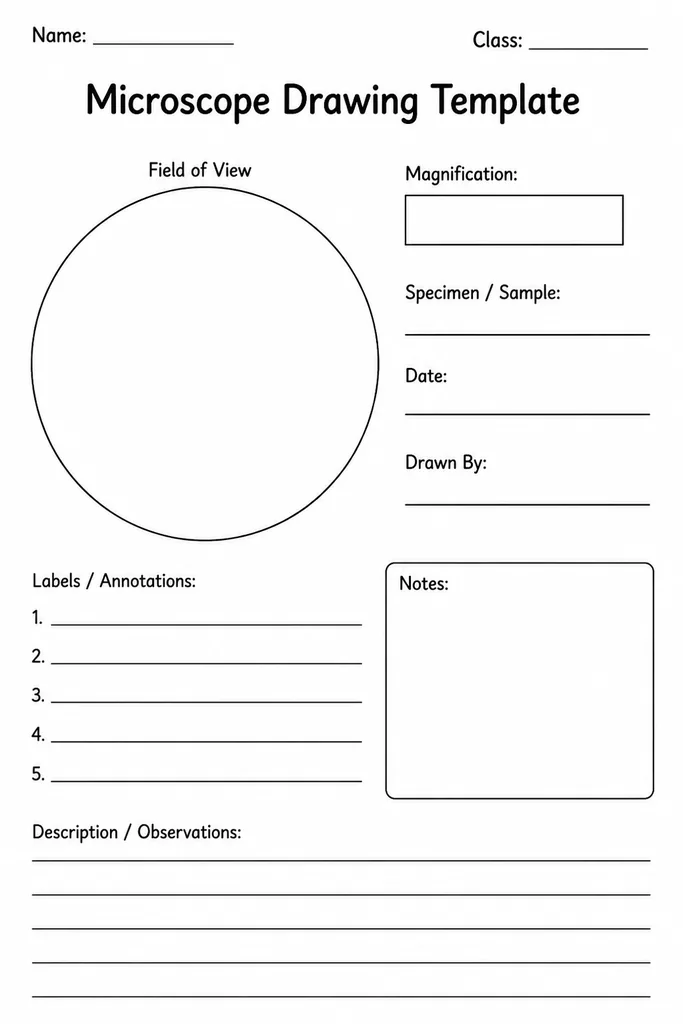
Microscope Drawing Template