Printable template
Computer Parts Labelling
Blank computer diagram to label.
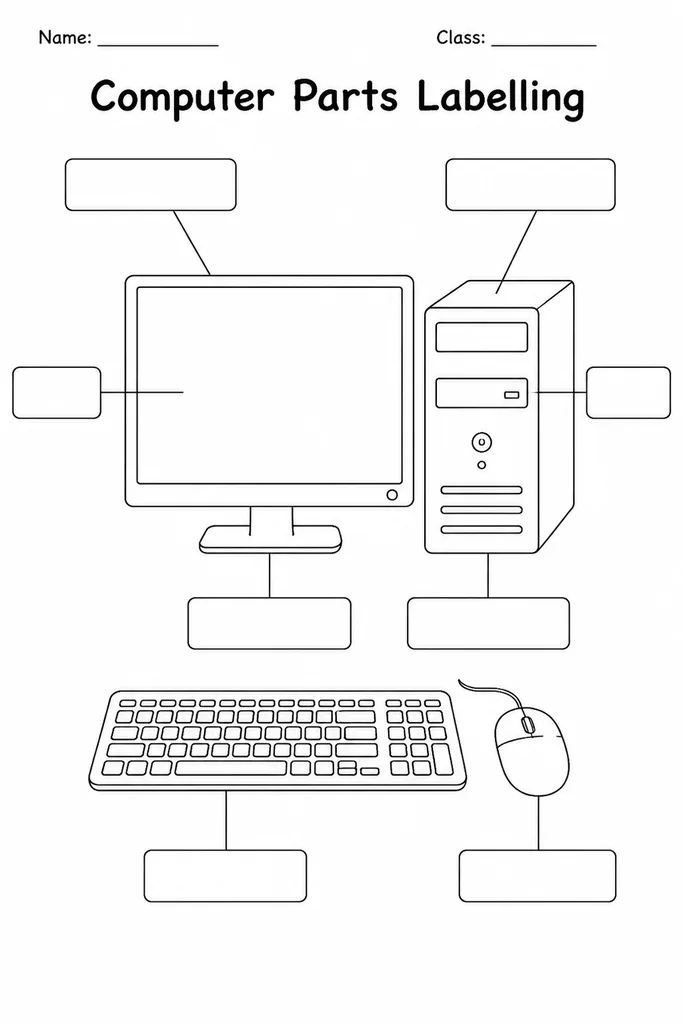
The Computer Parts Labelling template features a clear blank diagram of a desktop computer setup—monitor, tower or base unit, keyboard, mouse, and connecting cables—with numbered leader lines pointing to each component, ready for students to write in the correct part names. Designed for grades 2–6, it turns hardware vocabulary into an active, pencil-in-hand exercise rather than a passive read-along. Teachers use it as an introduction to computer hardware, a vocabulary-check mid-lesson, or a formative assessment at the end of a unit. The blank labels mean the same sheet can be used multiple times: first for identification practice, later for peer-quiz activities where one student creates an answer key and another fills in a fresh copy. At home, it helps parents introduce children to the device sitting on the desk in a structured, memorable way.
Learning objectives
- Identify and name the core components of a desktop computer system
- Learn hardware vocabulary: monitor, keyboard, mouse, CPU, speaker, and more
- Distinguish between input devices and output devices
- Build foundational digital literacy before hands-on computer use
- Develop scientific diagram-labelling skills transferable to other subjects
- Reinforce spelling of technology terms through writing practice
How to use this template
- Download and print one copy per student; the blank leader lines and answer spaces are clearly sized for primary-aged handwriting.
- Before distributing, decide the complexity level: label all components, or focus only on input/output devices.
- Students write the name of each part at the end of its leader line, using a word bank on the board if scaffolding is needed.
- After completing the labels, students can add a second pass by circling all input devices in blue and output devices in red.
- Collect as a formative assessment or have students self-check against a projected answer key at the end of the lesson.
Classroom & home ideas
- Use as a silent starter activity to probe prior knowledge before a hardware introduction lesson.
- Set up a physical 'stations tour' of computer components and have students fill in one label per station visited.
- Adapt for a vocabulary-matching challenge: provide a word bank and ask students to match each term to the correct leader line independently.
- In a group activity, cut the labels apart and have teams race to place the correct cut-out name next to the right component on the diagram.
- Send home as a family activity: children teach a parent or sibling by pointing to each part on a real computer and checking the labelled diagram.
Skills practised
Frequently asked questions
Which specific parts are shown on the computer parts labelling diagram?
The diagram shows the monitor, system unit (tower or all-in-one body), keyboard, mouse, power cable, and USB or connecting ports. Some versions also include speakers and a webcam, depending on the print edition.
Is this template suitable for introducing input and output devices?
Yes. After students complete the labelling task, teachers can extend the activity by asking students to categorise each labelled part as an input device, output device, or processing/storage component.
Can the template be used for a laptop diagram instead of a desktop?
The standard version shows a desktop setup because it has more individually identifiable parts. For laptop-focused lessons, teachers sometimes use the same vocabulary list and ask students to annotate a printed laptop image alongside this sheet.
What if a student labels a part incorrectly—how should a teacher handle that?
Because the template is blank, corrections are simple: erase and rewrite. Teachers often use the first attempt as a discussion prompt, asking the student to explain why they chose that label before revealing the correct answer.
Likes & comments
See what other teachers think and share a helpful note.
Create more worksheets in our Worksheet Studio
Generate fresh worksheets for any grade, topic, and language — free.
Open the Worksheet StudioRelated worksheets
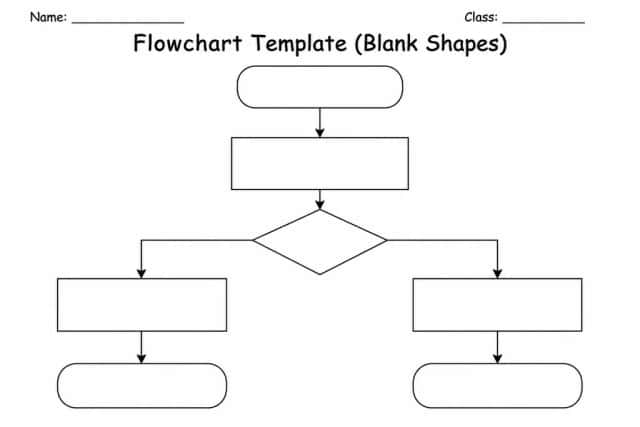
Flowchart Template (Blank Shapes)
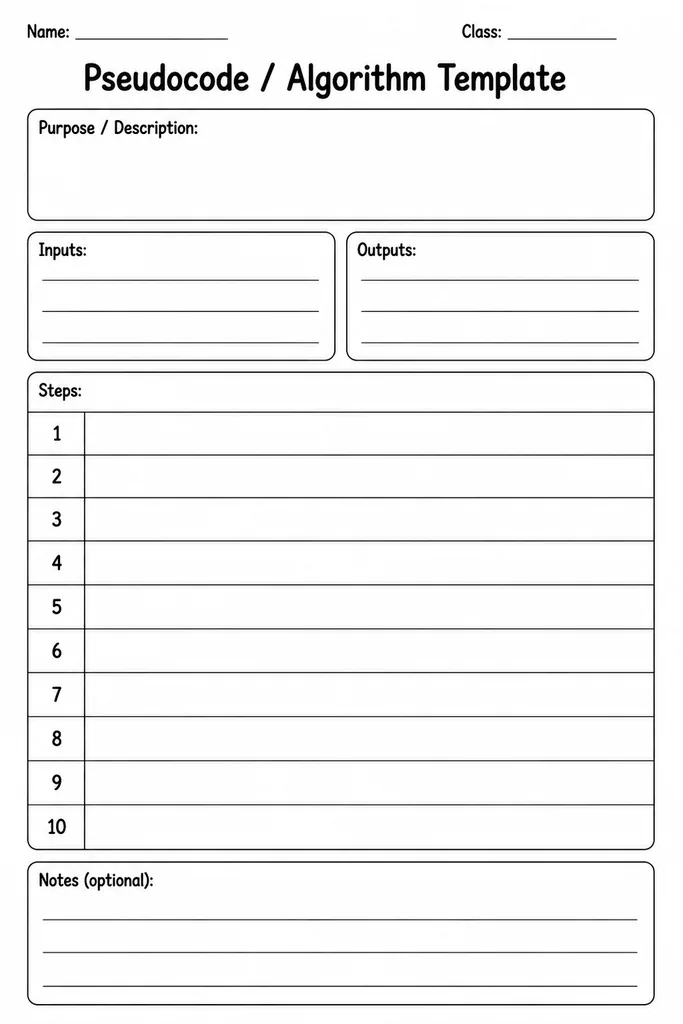
Pseudocode / Algorithm Template
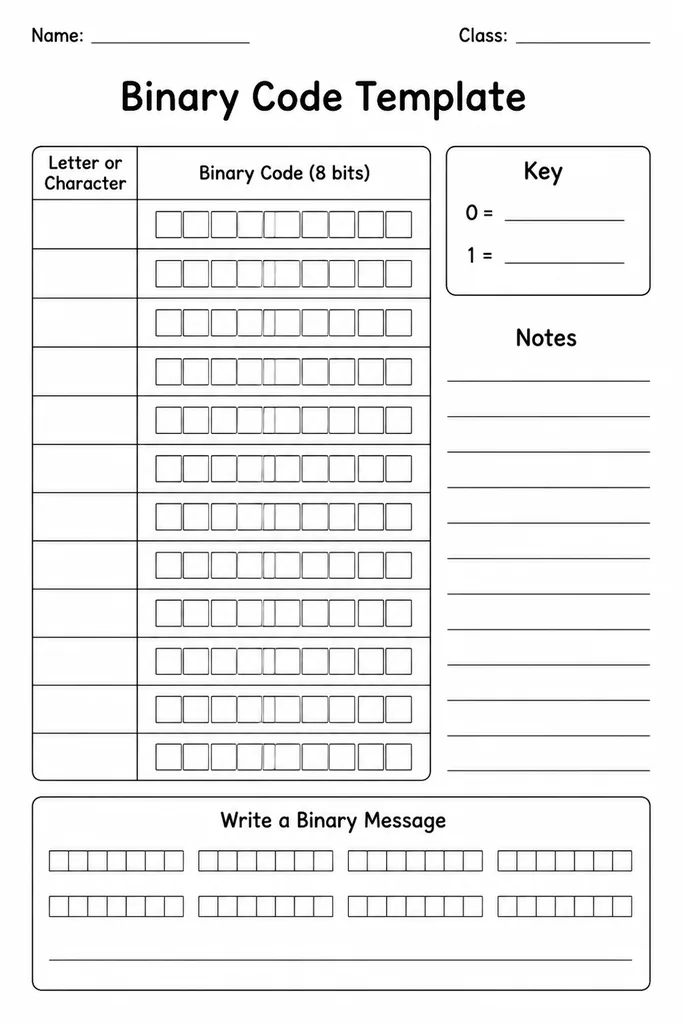
Binary Code Template
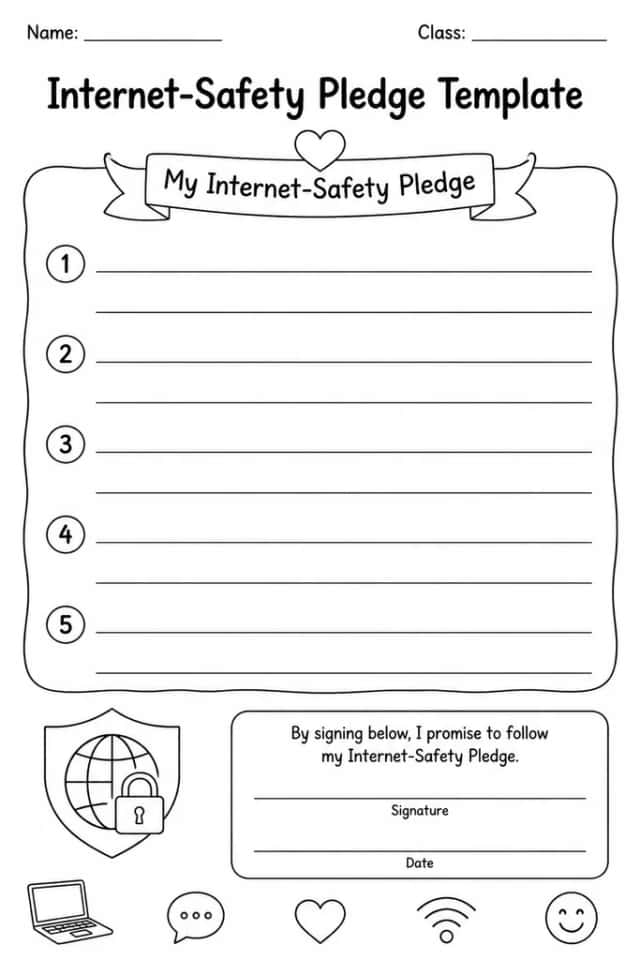
Internet-Safety Pledge Template
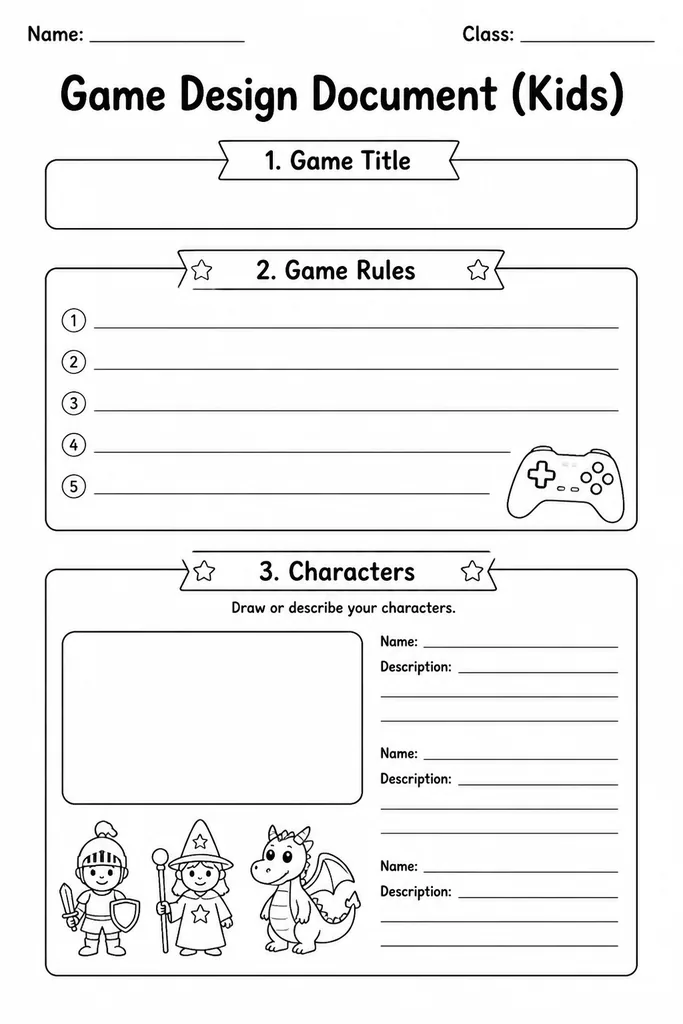
Game Design Document (Kids)
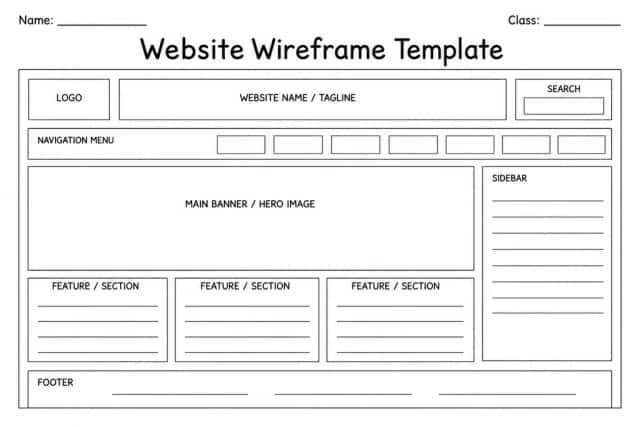
Website Wireframe Template

App / Game Storyboard