Printable template
Envelope Addressing Template
Blank envelope with address and stamp areas.
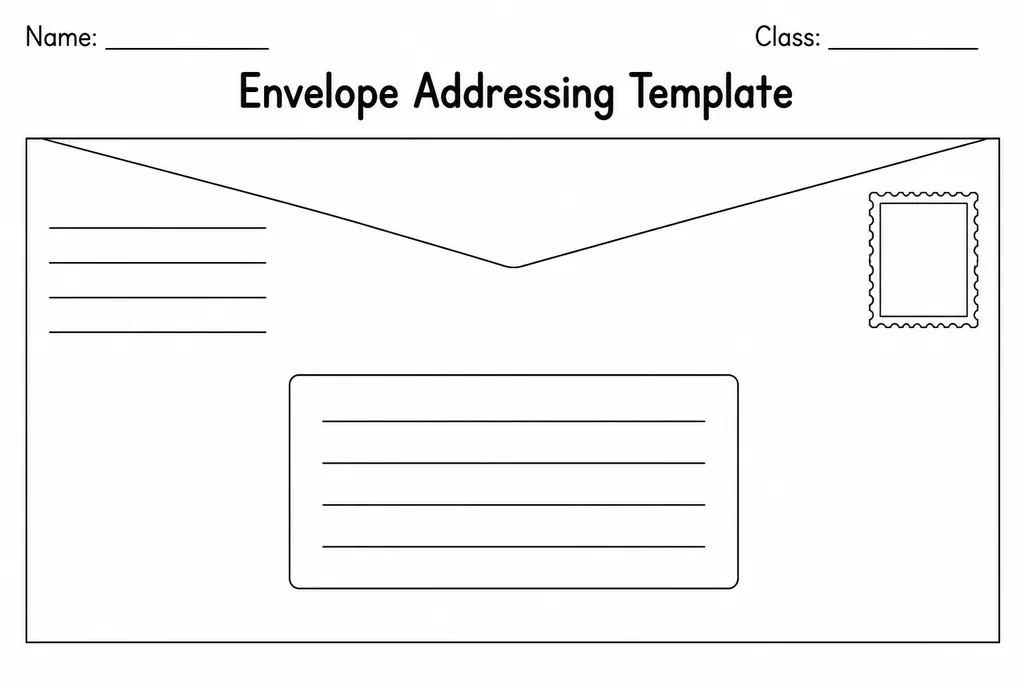
This blank envelope addressing template shows an accurate, full-size envelope outline with clearly marked zones for the return address (top-left), recipient address (centre), and stamp area (top-right). Students in grades 1–5 use it to practise the real-world skill of addressing mail before they handle actual envelopes — learning where each element belongs, what information to include, and how to format multi-line addresses neatly. Teachers pair it with letter-writing units so the full process — compose, fold, address, mail — is covered. The printed stamp box even includes sizing guidance so students understand postage placement. Parents can use it at home to teach postal conventions in a hands-on way. Print one for each letter a student writes, or laminate a copy for repeated dry-erase practice.
Learning objectives
- Learn the correct placement of return address, recipient address, and stamp
- Practice neat, legible address formatting across multiple lines
- Understand real-world postal conventions and their purpose
- Reinforce name, street, city, state/country, and postcode fields
- Build confidence handling genuine envelopes and mail
- Connect letter-writing and addressing as a complete communication process
How to use this template
- Print the template on standard paper — one per student or laminate a class set for dry-erase reuse.
- Discuss each labelled zone: where the sender writes their own address, where the recipient's address goes, and why the stamp occupies the top-right corner.
- Students write in both addresses using a real (or fictional) contact as practice.
- Compare finished templates side by side to check alignment, legibility, and completeness.
- When pairing with an actual letter project, students then transfer the practiced address onto a real envelope with confidence.
Classroom & home ideas
- Pair with the Friendly Letter Template for an end-to-end letter-writing project students can actually mail.
- Use as a geography tie-in — students address envelopes to pen pals in different states or countries and locate them on a map.
- Practise the template repeatedly on a laminated copy in a literacy centre before using real envelopes.
- Introduce the concept of return addresses by discussing what happens if a letter cannot be delivered.
- Have students address envelopes to a classroom post office box to simulate a real mail system during a community helpers unit.
Skills practised
Frequently asked questions
Is this template actual envelope size?
It is designed to print at standard #10 business-envelope proportions on A4/letter paper, giving students a realistic sense of scale before handling real envelopes.
What address information should students include?
Full name, house number and street, city, state or country, and postcode/ZIP code — the same fields found on any real envelope.
Can I use fictional addresses for practice?
Absolutely. Using story-character addresses or made-up towns keeps the focus on format without requiring students to share real personal information.
At what grade should children learn envelope addressing?
Most curricula introduce it in grades 1–2 alongside basic letter writing and revisit it through grade 5 as part of formal and informal writing units.
Likes & comments
See what other teachers think and share a helpful note.
Create more worksheets in our Worksheet Studio
Generate fresh worksheets for any grade, topic, and language — free.
Open the Worksheet StudioRelated worksheets
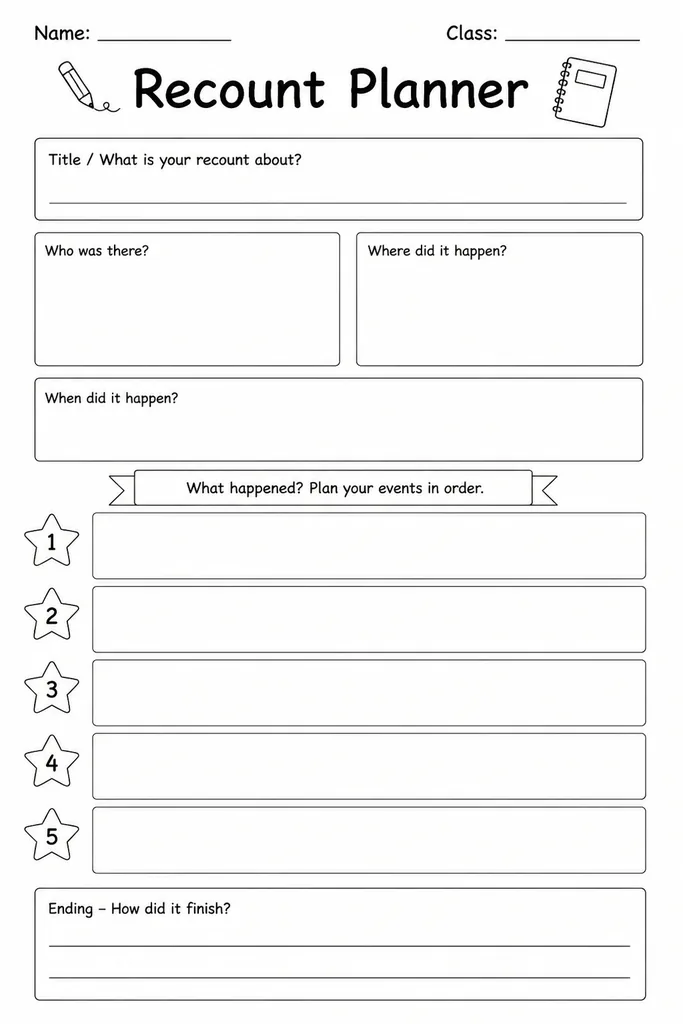
Recount Planner
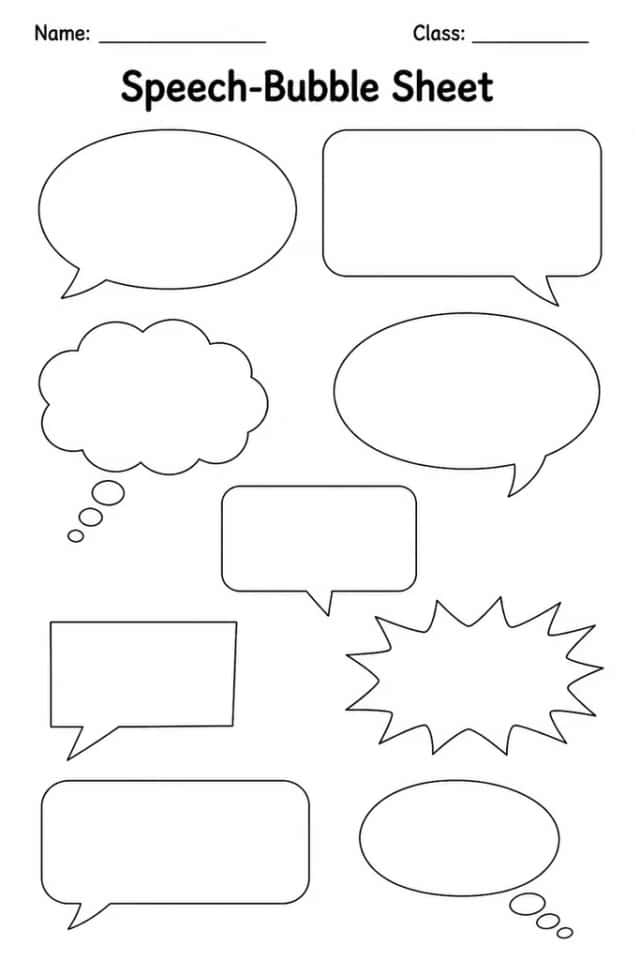
Speech-Bubble Sheet
Bubble Map
Boxing-Up Planner
Flow Map (Sequence)
Postcard Template
6-Panel Comic Strip