Printable template
Self-Portrait Guidelines
Face proportion guides, blank.
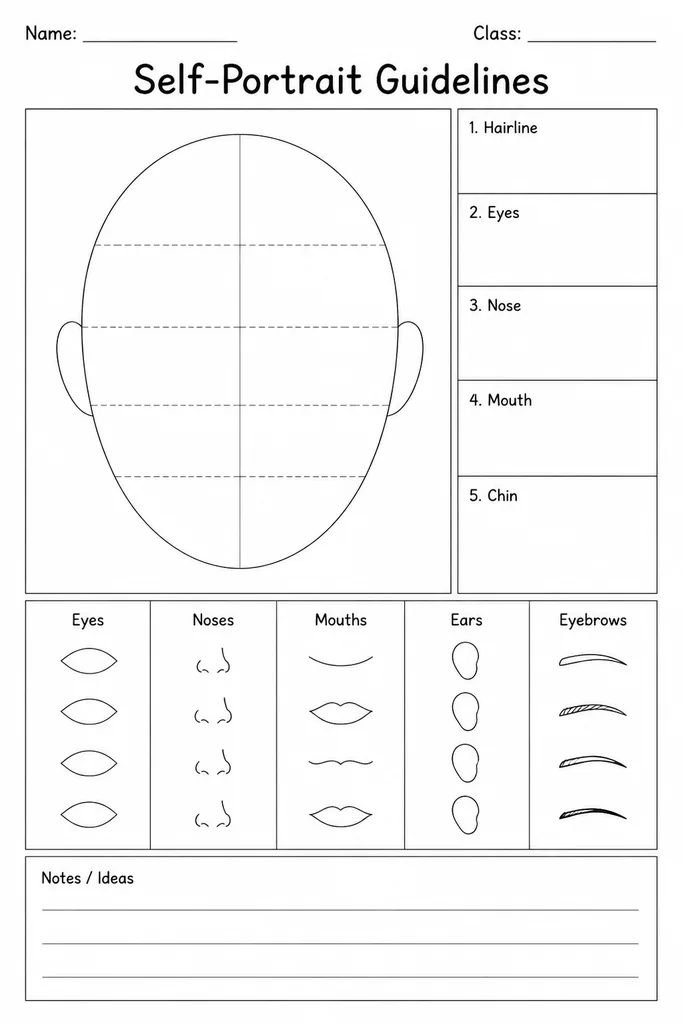
This blank self-portrait guidelines template gives students a pre-drawn face outline with light proportion guides—horizontal lines marking the eye level, nose placement, and mouth position—so they can focus on observation and mark-making rather than struggling with basic proportions. Ideal for grades 2–8 art classes, it suits first attempts at realistic portraiture as well as more polished studies. Teachers introduce it before mirror-drawing sessions or at the start of a portrait unit; students keep multiple copies to compare progress across a term. Because the structural guides are subtle, finished drawings look like genuine student work, not traced outlines. Parents use it for at-home drawing practice—children can fill in features from a mirror, a photo, or pure imagination. The reusable format means the same template supports pencil sketching, coloured-pencil rendering, or mixed-media experiments.
Learning objectives
- Observe and draw facial features with correct relative placement
- Understand basic human-face proportion rules
- Build confidence in representational drawing
- Develop pencil control and mark-making skills
- Compare artistic growth over repeated attempts
- Encourage self-awareness and identity expression through art
How to use this template
- Download and print the PDF on standard letter or A4 paper—one copy per attempt.
- Set up a small mirror or use a personal photo for reference.
- Use the printed proportion guide lines to place eyes, nose, and mouth accurately.
- Draw features lightly in pencil first, then refine and add shading or colour.
- Keep completed copies in a portfolio folder to track improvement over time.
Classroom & home ideas
- Kick off a portraiture unit by having every student complete the template on day one, then revisit it at the end of the unit to see measurable growth.
- Use it as a 'Meet the Artist' bulletin-board display where each student fills in their own portrait and pins it next to a short bio card.
- Pair the template with a discussion of how famous artists (Van Gogh, Frida Kahlo) depicted themselves—students then create their own stylised version.
- Run a 'blind contour then guided' comparison: first sketch without looking at the paper, then repeat using the proportion guides to discuss the difference.
- Have students swap completed templates with a partner for a peer-critique session focused on proportion accuracy and use of value.
Skills practised
Frequently asked questions
Are the proportion guide lines meant to stay visible in the final drawing?
No—the guides are drawn lightly so students can erase them once features are placed. Some teachers have students intentionally leave them as part of a 'process-visible' artwork.
Is this template suitable for grades younger than 2?
The proportion focus is most effective from grade 2 upward. Younger children can still use it freely, but the guide lines may mean less to them without a brief teacher introduction.
Can students use it for drawing someone other than themselves?
Absolutely. The template works for any human face—self-portrait, peer portrait, or a character from imagination. The proportion guides apply universally.
What media work best on this template?
Pencil, coloured pencil, fine-liner, and watercolour pencil all work well. For wet media like watercolour paint, print on heavier card stock (at least 90 lb / 160 gsm).
Likes & comments
See what other teachers think and share a helpful note.
Create more worksheets in our Worksheet Studio
Generate fresh worksheets for any grade, topic, and language — free.
Open the Worksheet StudioRelated worksheets
School Event Coloring Pages Pack 2
Song-Writing Template

Pixel Art Grid 32x32 (Blank)
Zentangle Frame
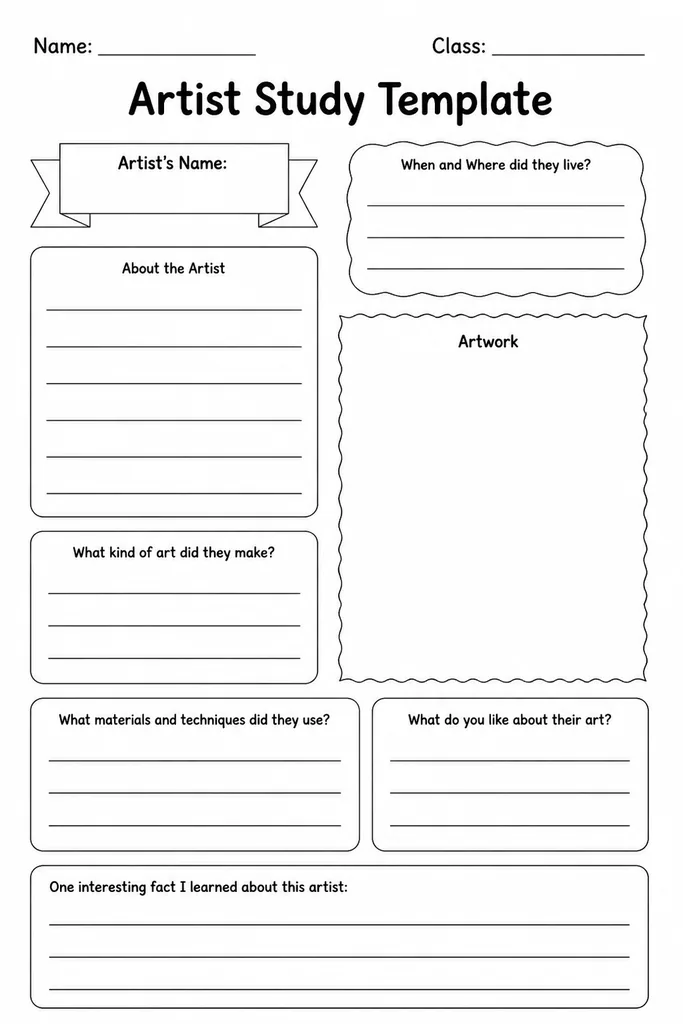
Artist Study Template

Minecraft-Style Build Grid

Pixel Art Grid 64x64 (Blank)