Printable template
Drawing Grid (Grid Method)
Numbered grid to scale up a drawing.
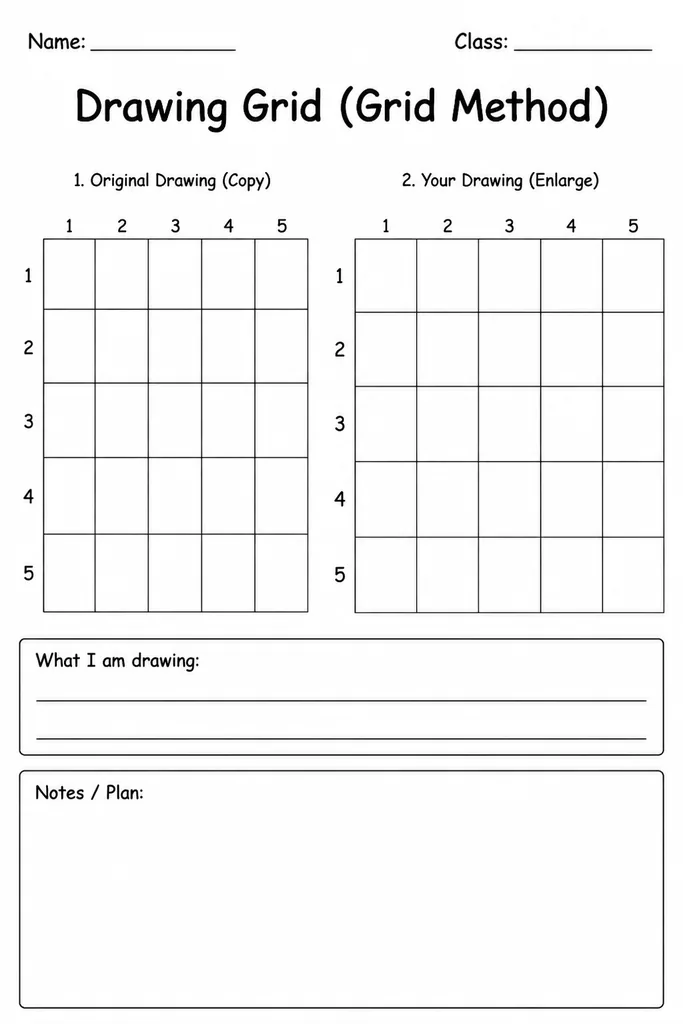
The Drawing Grid template — also known as the grid method — gives students in grades 3–8 a numbered, lettered grid they overlay on a reference image and then copy square by square onto a matching blank grid at a larger scale. By breaking the subject into small, manageable cells, the technique removes the intimidation of drawing a complex image freehand and teaches artists to observe shape and proportion rather than drawing from memory. Art teachers use it as a standalone enlargement exercise or as a foundational lesson on proportion and scale. The numbered rows and lettered columns printed on the template make it easy for students to cross-reference each cell precisely. The blank grid is fully reusable — students can scale up any photograph, artwork, or hand-drawn sketch, making it endlessly versatile across portrait, landscape, and design projects.
Learning objectives
- Apply the grid method to scale a reference image accurately
- Develop observational drawing skills by focusing on one cell at a time
- Understand the mathematical concept of scale and proportion
- Build confidence in drawing complex subjects through a step-by-step process
- Improve hand-eye coordination and pencil control
- Practise transferring between different grid sizes
How to use this template
- Print the blank grid — choose a small reference grid (4×4 or 6×6) and a larger output grid at the scale you want.
- Draw or print the reference image inside the smaller grid, aligning edges to the cells.
- Number each row and letter each column so every cell has a unique address (e.g., A1, B3).
- Working cell by cell, copy only what falls inside each small square into the matching cell of the larger grid.
- Once all cells are transferred, erase grid lines lightly and refine the enlarged drawing with shading or colour.
Classroom & home ideas
- Have each student grid-enlarge a different letter of the alphabet for a collective typographic mural.
- Use a famous artwork as the reference image — each student enlarges one section and panels are assembled as a collaborative reproduction.
- Assign a self-portrait photograph as the reference so students practise proportion in a personally meaningful context.
- Pair the grid method with a maths lesson on scale factor — calculate the exact ratio between the reference and output grid sizes.
- Challenge advanced students to reduce rather than enlarge: copy a large reference into a smaller output grid to explore compression.
Skills practised
Frequently asked questions
What grid sizes are included in the template?
The standard download includes a 4×4 and a 6×6 grid. You can print multiple sheets at different sizes to create any scale ratio you need — e.g., print one 4×4 at half-size and one at full page.
Do students need to be strong artists to use this method?
No — that is the whole point. The grid method is specifically designed for students who struggle with proportion. By focusing on one small cell at a time, even beginners produce surprisingly accurate enlargements.
Can this be used digitally, or is print required?
It works best printed because students need to physically overlay the grid on a reference image. However, in a digital art app, students can add a grid overlay layer and work the same way on a tablet.
Is there a recommended pencil or medium for the output grid?
Start with a light HB pencil so grid lines erase cleanly. Once the outline is transferred correctly, students can switch to any medium — ink, coloured pencil, paint, or charcoal — to finish the piece.
Likes & comments
See what other teachers think and share a helpful note.
Create more worksheets in our Worksheet Studio
Generate fresh worksheets for any grade, topic, and language — free.
Open the Worksheet StudioRelated worksheets

School Event Coloring Pages Pack 2
Song-Writing Template

Pixel Art Grid 32x32 (Blank)
Zentangle Frame
Artist Study Template

Minecraft-Style Build Grid

Pixel Art Grid 64x64 (Blank)