Printable template
Noise-Level Chart
Blank volume-level display.
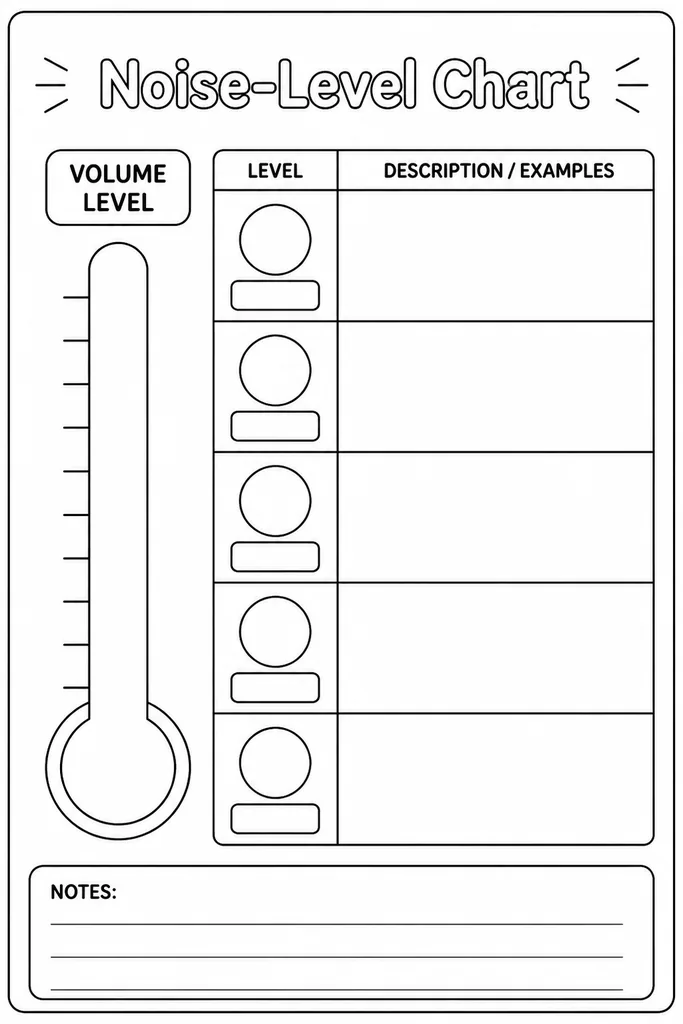
A blank volume-level display that teachers customise with their own noise-level labels, colours, and icons before mounting it prominently in the classroom. Most versions use three to five levels — from silent independent work through partner voices to outdoor volume — but the blank format means any labelling system fits, including school-wide colour codes or student-designed names. A visible noise-level chart gives students an objective reference point instead of repeated verbal warnings, which research links to fewer interruptions and calmer classroom environments. Teachers use a movable clip, clothespin, or magnetic pointer to show the current expected level at a glance. The chart prints well at A3 for wall display or at A4 to slip into a plastic stand on the teacher's desk.
Learning objectives
- Give students a shared visual reference for expected classroom noise
- Reduce the number of verbal volume reminders during the lesson
- Help students self-monitor and adjust their own voice level independently
- Establish consistent classroom behaviour expectations across all activities
- Support students with auditory sensitivities by making noise norms explicit
- Build student agency by involving them in naming or colouring the levels
How to use this template
- Print at A3 for wall mounting or A4 for a desktop stand; laminate for longevity.
- Write your chosen level names in each row or box — for example: Silent / Whisper / Partner / Group / Presentation.
- Colour-code each level with markers or stickers (red for loudest, green for silent is a common convention).
- Attach a movable pointer such as a clothespin, magnet, or arrow sticker that you can slide to the current level.
- Introduce the chart to students with a brief lesson on what each level sounds and looks like before using it during class.
Classroom & home ideas
- Let students vote on creative names for each level (Library Mouse, Bee Buzz, Playground Roar) to increase buy-in and memorability.
- Post the chart near the classroom door so students re-check the level before entering from break.
- Use the chart during small-group rotations by moving the pointer as each rotation begins, cueing the expected voice for that activity type.
- Photograph the chart and share it with parents so the same vocabulary can be used at home during homework time.
- Have a student helper be the official 'noise monitor' who points to the chart when the volume drifts, reducing the need for teacher intervention.
Skills practised
Frequently asked questions
How many levels should I include on the chart?
Three to five levels works best for most classrooms. Fewer levels (Silent / Quiet / Loud) suit younger students; older students can handle five nuanced categories tied to specific activity types.
What should I use as a movable pointer?
A spring clothespin clipped to the side of a laminated chart, a magnetic arrow on a metallic whiteboard, or a simple printed arrow slipped into a pocket protector strip all work well and are easy to update mid-lesson.
Can this be used school-wide?
Yes. Many schools adopt a shared labelling system (often colour-based) so students see consistent expectations in every room. The blank template lets each teacher match whichever school-wide system is in use.
What if students ignore the chart?
Pair the chart with a non-verbal signal — a raised hand, two claps, or a chime — that cues students to look at the chart and self-correct. Consistency in using the signal builds the habit within a few weeks.
Likes & comments
See what other teachers think and share a helpful note.
Create more worksheets in our Worksheet Studio
Generate fresh worksheets for any grade, topic, and language — free.
Open the Worksheet StudioRelated worksheets
Teacher To-Do / Priorities
Differentiated Lesson Plan
Classroom Wish List
Meeting Notes Template

Pupil Progress Tracker

Family Weekly Planner
Blank Task Cards