Differentiated instruction strategies: a practical 2026 guide
What differentiation actually looks like in a real K-8 classroom — beyond the bureaucratic buzzword
Last updated July 17, 2026
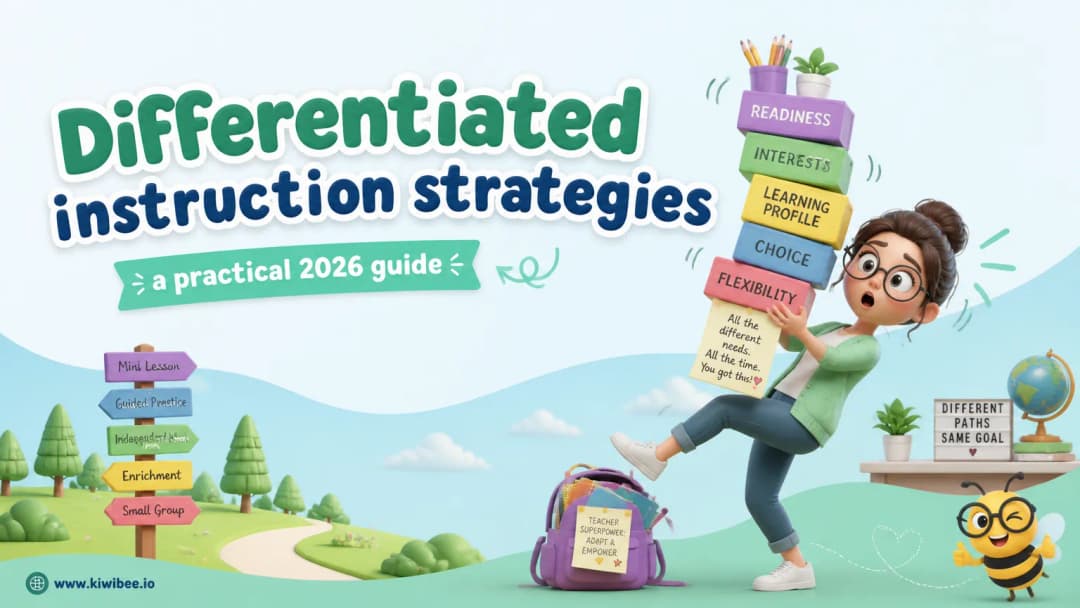
Differentiation does not need to mean creating an individual lesson for every child. A practical starting point is to prepare work at three broad levels: support, core, and challenge. This gives students an appropriate next step while keeping one shared learning goal for the whole class.
Three levels are often ideal, but they can be hard to prepare and manage every day. Start with the version that you can sustain: a single worksheet with a clear progression, two groups, or three levels for the lessons where the gap in readiness is widest.
Start with three broad levels
For one lesson objective, plan a support version, a core version, and a challenge version. The support version might include a worked example, pictures, vocabulary help, sentence starters, or fewer steps at a time. The core version practises the expected skill. The challenge version adds depth, reasoning, application, or a less-scaffolded task — not simply more questions.
Use neutral group names with students: colours, shapes, animals, table names, or activity names. These groups should change with the topic. A student who needs support in reading may be ready for the challenge task in science.
Preparing several versions by hand can take a lot of time. KiwiBee helps teachers create different worksheet versions for different group needs, so you can spend more of your time deciding what each group needs and less time rebuilding the same resource.
Make the arrangement visible
Differentiation works best when students know what to do next without waiting for you. You can make the route visible through a short note at the top of the worksheet, a colour-coded section, a symbol, or a clear instruction on the board. For example: ‘Start with the yellow section. When you are ready, move to the green challenge.’
The activity itself can also show the difference. A support task might include matching, picture clues, a word bank, or a model. A core task may ask students to practise the target skill independently. A challenge task can ask them to explain their reasoning, apply the idea in a new context, compare examples, or create something.
Four practical ways to arrange the activities
1. Move from easiest to hardest
Put the activities in a clear sequence on one worksheet. Everyone begins with an accessible task, then moves towards more independent or complex work. This is a good starting format when you do not want to manage multiple papers: students can stop at the point that matches their readiness, or you can tell each group where to begin and where to finish.
2. Use three labelled sections: easy, core, and challenge
Create three sections that practise the same objective in different ways. To students, use neutral labels such as Start, Build, and Stretch rather than labels that describe ability. This makes a three-team arrangement easy to see: each team begins in its assigned section, with a clear extension ready when it is needed.
3. Simplify to two groups
If three versions feel too difficult to run, divide the class into two temporary groups: a support group and an extension group. Give the support group more modelling, examples, or guided practice. Give the extension group fewer scaffolds and a deeper application. Two groups are often enough to make the lesson more accessible without multiplying your preparation.
4. Build in an early-finisher activity
Put a meaningful ‘When you finish’ activity directly on the worksheet. This keeps the room calm and avoids the usual question, ‘What do I do now?’ Good options include a topic-related colouring image, a word search using unit vocabulary, a challenge question, a drawing-and-label task, or a short research prompt.
For ready-made ideas, browse KiwiBee’s printable worksheet catalogue or make a topic-specific printable word search in a few minutes.
A simple planning routine
- Choose one learning goal that every student is working towards.
- Decide whether this lesson needs one progression, two groups, or three levels.
- Add or remove support: models, visuals, word banks, steps, vocabulary help, and guided examples.
- Make each route visible with a short worksheet note, symbol, or section heading.
- Include one purposeful activity for students who finish early.
The bottom line
The ideal differentiated class may have three well-planned levels, but the most useful system is the one you can actually manage. Begin with two groups or a single easiest-to-hardest pathway when needed. Make the route clear, rotate groups as the skill changes, and keep a meaningful early-finisher option ready. Over time, you can build a reusable bank of differentiated worksheets instead of starting from zero every week.
Explore the platform
Continue with KiwiBee
Choose the KiwiBee workspace or resource library that fits what you need next.
Get one practical teaching resource in your inbox each week.
Related posts
Best AI Teaching Tools for Lesson Planning in 2026
A 2026 ranking of the best AI teaching tools for lesson planning, comparing KiwiBee TeacherLab, MagicSchool.ai, Eduaide.ai, Diffit, and Curipod on quality and integration.
Classroom management strategies that actually work in elementary
Five easy classroom management strategies: visual behaviour boards, a behaviour pyramid, digital points, class monitors, and clear rewards and consequences.
How an AI Co-Teacher Personalizes Every Classroom
Discover how Ms. Saunders uses an AI planning assistant to map out weekly lessons, surface intervention groups, and keep families in the loop.
 Home
Home All solutions
 Pricing
 About us
 KiwiBee for Non-profits
 Events & webinars
 For big organisations
 For schools
 For centers
 For team leaders
 For teachers
 AI and resources
 Resources
 Printable worksheets
 Lesson Packs
 Interactive simulations
 Teacher tools
 AI studio
 Ideas and research